 Mar 07, 2025
Replacing a DC computer fan can be a necessary task when the existing fan is malfunctioning, has reached the end of its lifespan, or if you are upgrading for better cooling performance. Here is a comprehensive guide to help you through the replacement process.
First, identify the problem with the current fan. Common issues include a noisy fan, a fan that spins slowly or not at all, or a fan that is not providing sufficient cooling, leading to overheating of the computer components. Once you've determined that a replacement is needed, you need to select the right replacement fan.
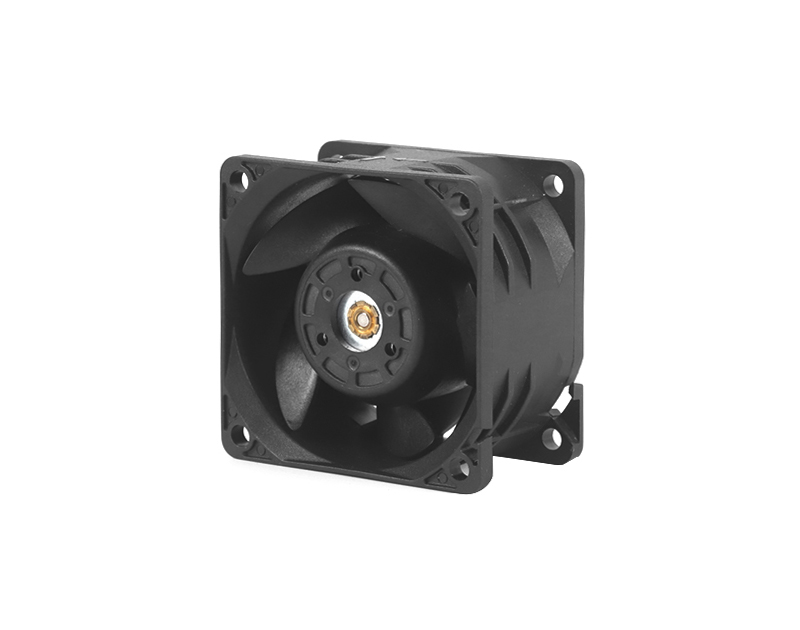
Consider the size of the fan. Measure the dimensions of the existing fan, including the length, width, and height. Fans come in various standard sizes, such as 80mm, 92mm, 120mm, etc. Make sure the new fan you choose has the same or compatible dimensions to fit in the existing mounting location.
Also, check the power requirements of the fan. Most DC computer fans operate on 12 volts, but there are exceptions. The replacement fan should have the same voltage rating as the original to ensure proper operation. Additionally, consider the air - flow and static - pressure ratings of the fan. If you are replacing the fan for better cooling performance, look for a fan with a higher air - flow rate or better static - pressure capabilities, especially if your computer components generate a lot of heat.
Once you have the new fan, start the replacement process. As always, power off the computer and unplug it from the electrical outlet. If it's a laptop, remove the battery.
Remove the old fan following the disassembly steps mentioned earlier. This may involve removing screws, unclipping wires, and carefully detaching the fan from the heat sink or other components.
Before installing the new fan, check the mounting holes and make sure they align with the holes in the computer case or heat sink. If necessary, you may need to use the screws or mounting brackets from the old fan or the ones provided with the new fan to secure it in place.
Connect the power cable of the new fan to the appropriate power connector on the motherboard. The connector is usually keyed to prevent incorrect insertion, but still, be careful to ensure a proper connection.
After installing the new fan, double - check all the connections and make sure the fan is securely mounted. Then, power on the computer. Observe the fan to ensure it starts spinning immediately and is running smoothly and quietly. Monitor the computer's temperature to make sure the new fan is providing adequate cooling. If you notice any abnormal noises, vibrations, or if the computer is still overheating, turn off the computer immediately and check the installation again.
If you have any suggestions and comments on our products and services, please fill in the following table

Dashuitian Industrial Zone B, Niuhu Community, Guanlan Street, Longhua New District, Shenzhen
Copyright 2025 © Shenzhen Yuchuang Industry Co., Ltd. 粤ICP备16089648号


 Chinese
 CN
CN Home >