 Feb 18, 2025
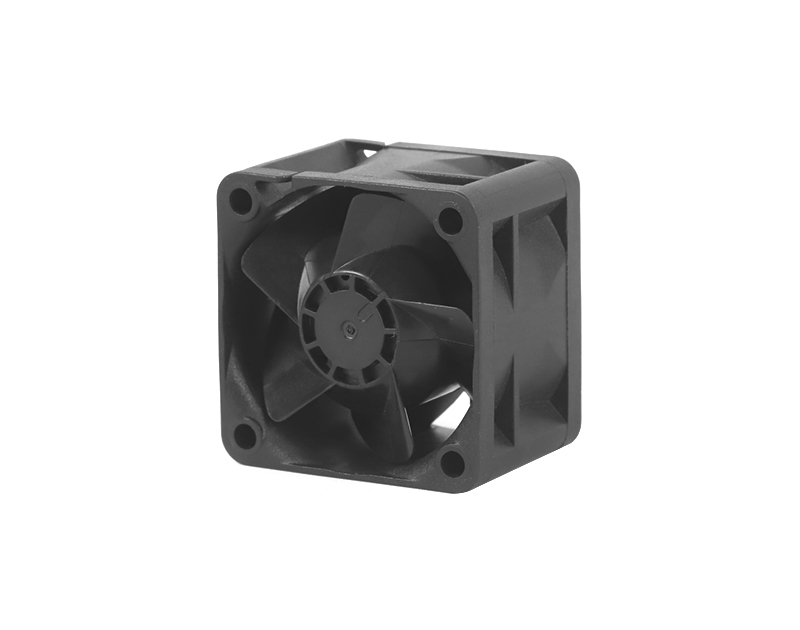
Installing a CPU fan with two side clips requires careful attention to detail to ensure proper installation and effective cooling.
First, prepare the necessary tools and materials. You will need the CPU fan, thermal paste, and a screwdriver (if required for other parts of the installation). Make sure your hands are clean and dry to avoid any static electricity damage to the components.
Start by applying a small amount of thermal paste to the center of the CPU. The thermal paste helps to improve the heat transfer between the CPU and the fan's heatsink. Use a spreading tool or a clean finger to spread the thermal paste evenly over the CPU surface, creating a thin, uniform layer.
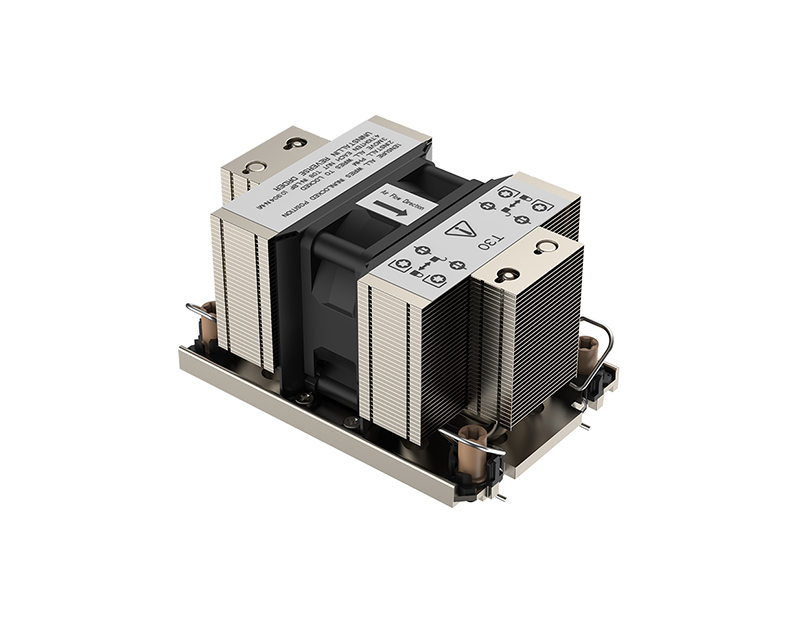
Next, carefully position the CPU fan over the CPU. Align the holes on the fan's mounting bracket with the corresponding holes on the motherboard around the CPU socket. The two side clips are designed to secure the fan in place. Usually, one end of the clip is already attached to the fan, and the other end needs to be engaged with the motherboard.
Gently press the fan down onto the CPU to ensure good contact with the thermal paste. Then, take one of the clips and lift it up to expose the locking mechanism. Place the clip over the appropriate mounting point on the motherboard and carefully lower it until it snaps into place. Repeat this process for the other clip on the opposite side of the fan. Make sure both clips are securely locked to prevent the fan from moving or coming loose during operation.
After the fan is installed, connect the fan's power cable to the appropriate fan header on the motherboard. Double check all the connections to ensure they are secure. Finally, power on the computer and monitor the CPU temperature to ensure that the fan is working properly and providing adequate cooling.
If you have any suggestions and comments on our products and services, please fill in the following table

Dashuitian Industrial Zone B, Niuhu Community, Guanlan Street, Longhua New District, Shenzhen
Copyright 2025 © Shenzhen Yuchuang Industry Co., Ltd. 粤ICP备16089648号


 Chinese
 CN
CN Home >