 Mar 07, 2025
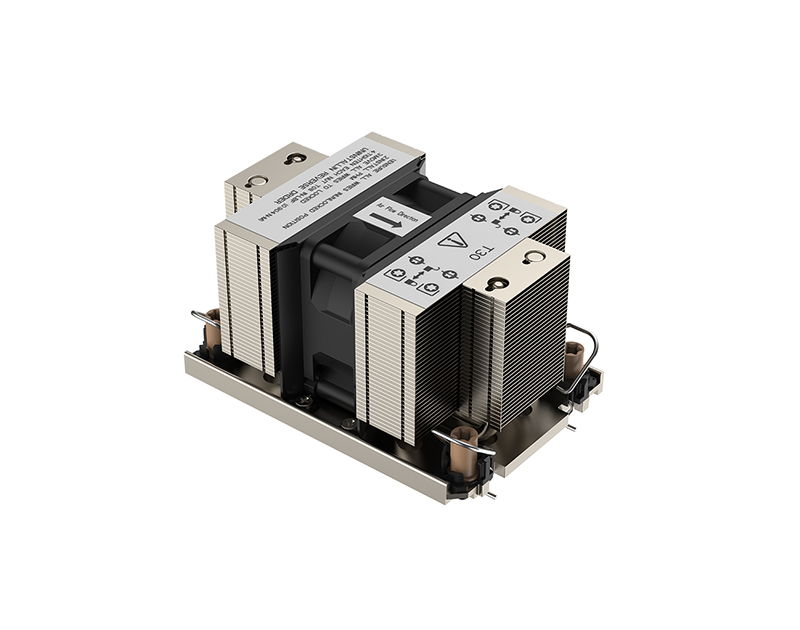
Disassembling a DC computer fan might be necessary for cleaning, replacement, or repair purposes. Here is a step - by - step guide to safely and effectively take apart a DC computer fan.
First and foremost, ensure the computer is completely powered off and unplugged from the electrical outlet. This is a crucial safety measure to prevent any electrical accidents during the disassembly process. If it's a laptop, remove the battery as an added precaution.
Next, gather the necessary tools. A small Phillips - head screwdriver is usually essential for removing the screws that hold the fan in place. In some cases, a flat - head screwdriver might also be needed for prying open certain components.
Begin the disassembly by identifying the location of the fan within the computer case. In desktop computers, the fan is often attached to the CPU cooler or the power supply unit. In laptops, it could be located near the motherboard or the heat sink. Locate the screws that are securing the fan to the surrounding components. Use the Phillips - head screwdriver to carefully remove these screws, keeping them in a safe place to avoid losing them.
Once the screws are removed, gently lift the fan away from the mounting surface. Be cautious as there may be a power cable connecting the fan to the motherboard. Do not force the fan to separate if it seems stuck; instead, carefully check for any remaining connections or clips that might be holding it in place.
If the fan has a protective cover, such as a plastic grille, use the flat - head screwdriver to gently pry open the clips or tabs that are holding the cover in place. Some covers may be screwed on as well, so check for any hidden screws before attempting to remove it.
After removing the cover, you can access the fan blades and the motor. If you need to further disassemble the fan, for example, to clean the motor bearings, you may need to carefully remove the fan blades from the motor shaft. This can be a delicate process as the blades are often made of lightweight plastic and can be easily damaged. Use a small tool, like a pair of tweezers or a very small screwdriver, to gently loosen the securing mechanism, which could be a small clip or a nut - like structure.
Throughout the disassembly process, it's important to work in a clean and well - lit area. Also, keep track of the order in which the components are removed and their original positions. This will make the reassembly process much easier and less error - prone.
If you have any suggestions and comments on our products and services, please fill in the following table

Dashuitian Industrial Zone B, Niuhu Community, Guanlan Street, Longhua New District, Shenzhen
Copyright 2025 © Shenzhen Yuchuang Industry Co., Ltd. 粤ICP备16089648号


 Chinese
 CN
CN Home >